

One of the wedding decorations I was 1000% sure I would be making is bunting. Nothing says party time like colourful triangles! I love how bunting makes everything feel whimsical and playful, which is exactly the vibe I am looking for.

Making your own bunting is pretty easy and approachable, even for beginner sewists. I’ve even got a free printable bunting template you can download:
You don’t need to use the template, you can also draw a triangle that is the size and shape you want your bunting to be. If you want to use this tutorial as written, draw an 8” (20.3 cm) square and then draw your triangle inside of it. For small bunting, do the same with a 6” (15.2 cm) square.
How much bunting do you need? You can use this cool bunting calculator to figure that out!


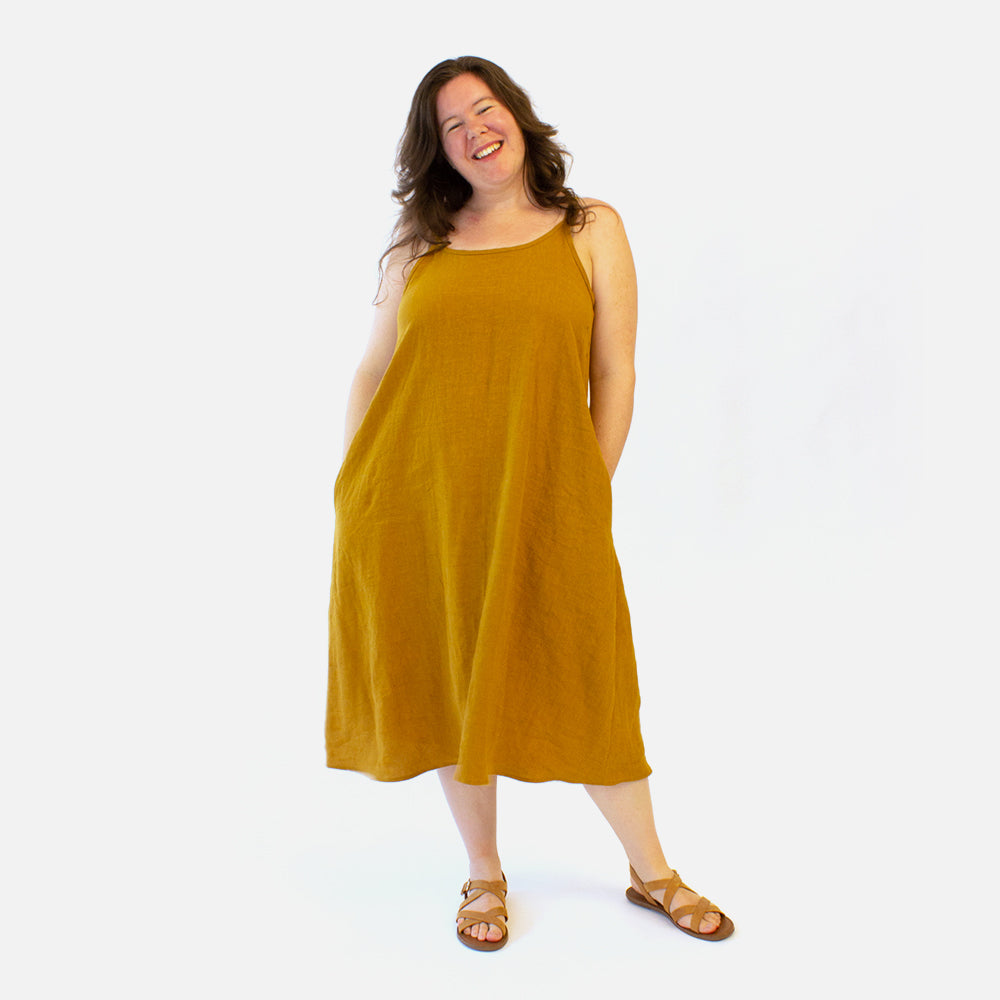
I’m using Fat Quarters for my bunting. You can get 4 large triangles or 9 small triangles out of one FQ. I made mine larger because they are going on a large tent. I wanted to make sure they would stand out. It is not as fabric efficient but I had fun using up the leftovers to make this dress. All of the fabrics I’m using are from Fableism. They have kindly sent me some fat quarter bundles and I am thrilled to be able to make my bunting out of such pretty fabrics. Thank you, Fableism!

For the larger bunting: Place the FQ right side up on the table. Fold it lengthwise until you have an 8.5” (21.6 cm) overlap. Using a quilting ruler, cut along the overlapped line and cut the fold off, making an 8” (20.3 cm) strip of double layered fabric. You will have a strip of fabric leftover that is nice to use for scrap projects.

Cut 4 triangles out of that double layered strip using your template. The fabric should be right sides together so you are ready to take it to your machine and sew the triangles together. Again, you will have wonky triangles leftover but these can be really cool to use up for scrappy makes.


For the smaller bunting: Cut the FQ into three 6” (15.2 cm) strips. Lay two of the strips with right sides together and cut out 6 triangles using your template. Repeat for the remaining strip and pair the triangles together with right sides facing for sewing.

When you sew the bunting, I recommend using a 1/4” (0.6 cm) seam allowance and lowering your stitch length to help make the point extra strong. Sew down one side of the triangle, stopping about 1/3” (0.8 cm) from the end. Pivot and sew two or three stitches across the point. Pivot and sew up the other side of the triangle.


Trim off the end of the triangle.


Turn the triangle right side out and poke out the point with a point turner or chopstick. Do this gently and don’t over-poke! The two stitches we made are going to help this point turn out more neatly. Use your fingers to flatten the triangle before pressing it flat with your iron.


That’s all there is to it! Repeat for as many bunting triangles as you want. My friends and I made about 250 for my wedding and it went surprisingly quickly when we were batch sewing them. A group of about 5 of us were able to make that many in 4 hours. Now I have big stacks of triangles and I am going to string them up.


When it comes time to sew the bunting together you want to get double fold bias tape. You can sew the triangles onto any kind of ribbon, but the bias tape sandwiches the raw edge of the bunting really well. I bought 50 yards of bias tape in bulk on amazon.


Be sure to leave bias binding tails on either side so you can tie the bunting to wherever you plan to hang it. I sandwiched and sewed the triangles in as I went along, being mindful to space them about 3” (7.6 cm) apart, but the spacing is totally up to you! I measured 3” (7.6 cm) from the end of one bunting and found that it aligned with the ruler on my sewing machine, so I used that as my guide moving forward. You can also pin the triangles to the bunting ahead of time, which is a good option for a shorter bunting run. I was making ~75 meters so I just decided to go for it and sandwich as I went along.


I successfully sewed about one third of my bunting! I’ll do another couple of sessions and get it done soon. I hope you found this tutorial helpful!